Welcome to mac4xp’s blog:
“wifi has self-assigned ip address and will not be able to connect to the internet”
“wifi self-assigned ip address mac problem”
“how to fix self-assigned ip address”
self-assigned ip address mac fix”if you are also searching for similar queries on web, then this article is for you. we are going to show you how to fix “wifi has self-assigned ip address and will not be able to connect to the internet” error on Mac in this post.
If your MacBook is displaying the error message “WiFi has self-assigned IP address” and cannot connect to the internet One of the reasons for this error message to appear on your MacBook is that your “WiFi has self-assigned IP address”,
which means that its network settings have a problem and it does not get a right IP address from the network router. The following steps can be used to fix this:
What is the reason behind the “wifi has self-assigned IP address” error on Mac?
- Network Configuration Issues.
- Router Problems:.
- Software Bugs.
- Hardware Limitations.
- Outdated System Software.
- nterference from VPNs or Firewalls.
It will be easier to resolve any of these by resetting network configurations, restarting routers, updating system software, checking for hardware issues, or temporarily disabling VPNs and firewalls through troubleshooting if such are possible causes
Here are 8 ways to fix “wifi has self-assigned ip address and will not be able to connect to the internet” error.
Check Your Wi-Fi Connection
First, ensure that it’s actually your MacBook with the issue. Check if other devices can connect to the network. If they also have issues, then it could be a problem with your ISP or router.
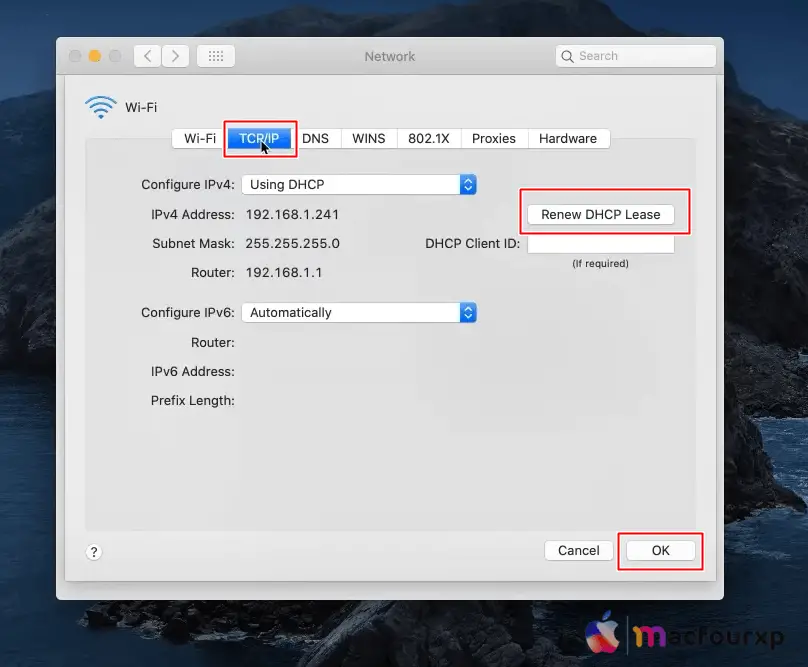
Renew DHCP Lease
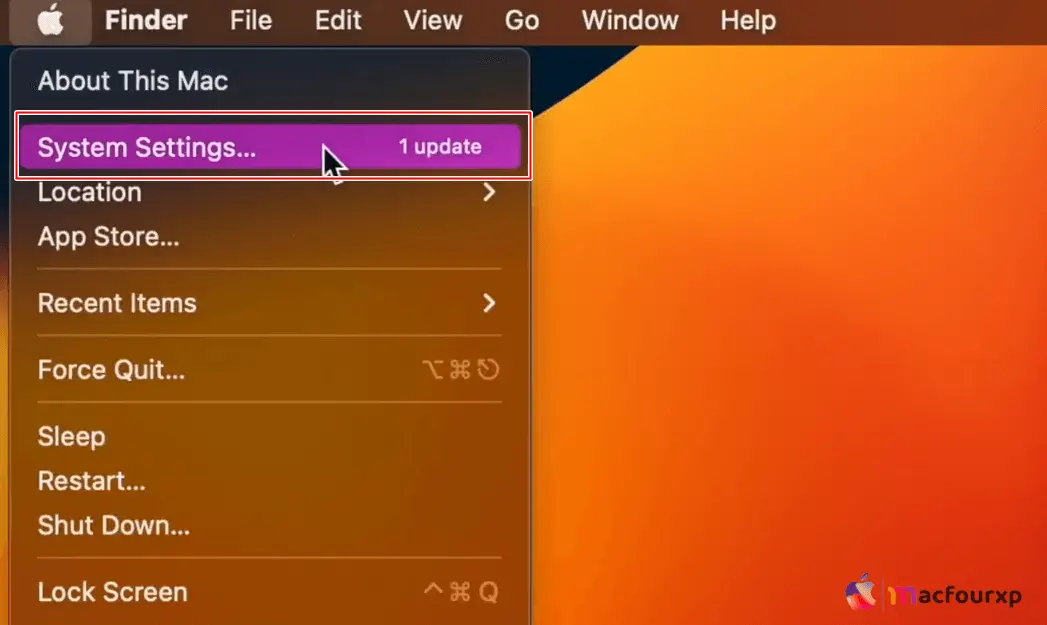
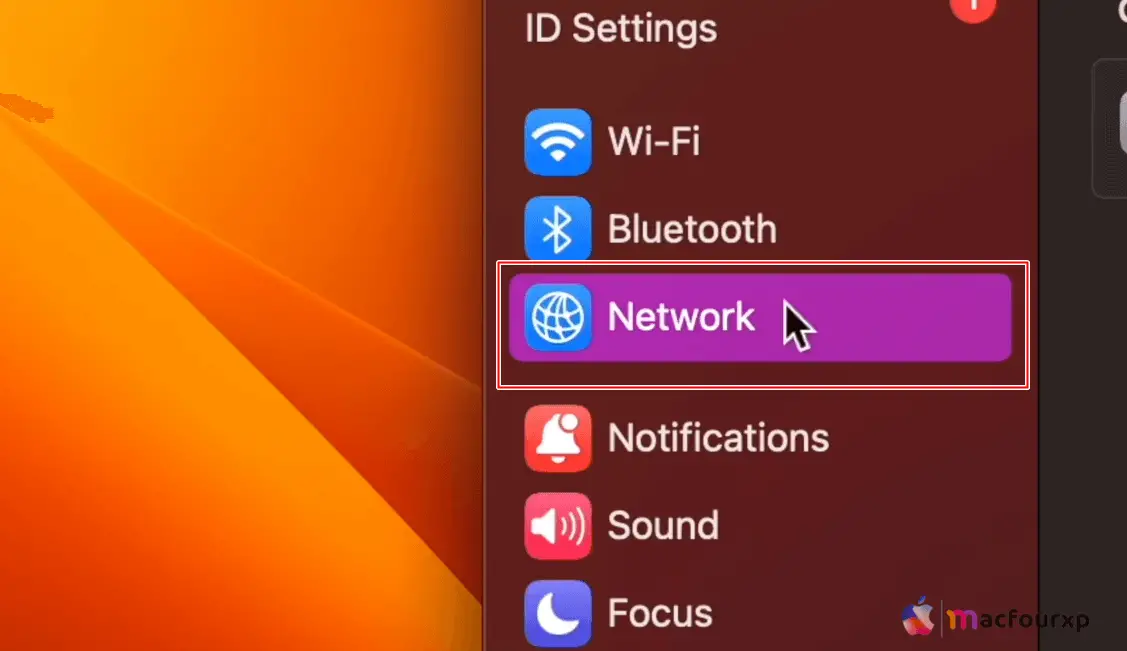
- Open System Preferences and go to the Network panel.
- In the left pane, click on Wi-Fi and press ‘Advanced‘.
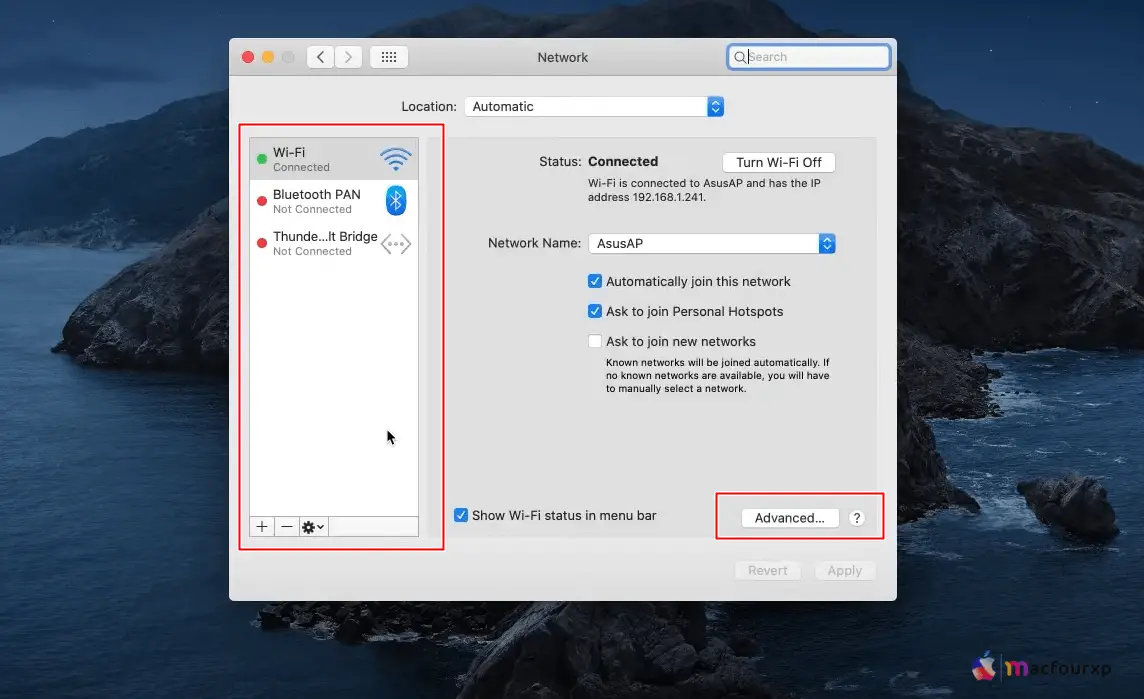
- Go to TCP/IP tab and click on ‘Renew DHCP Lease’.
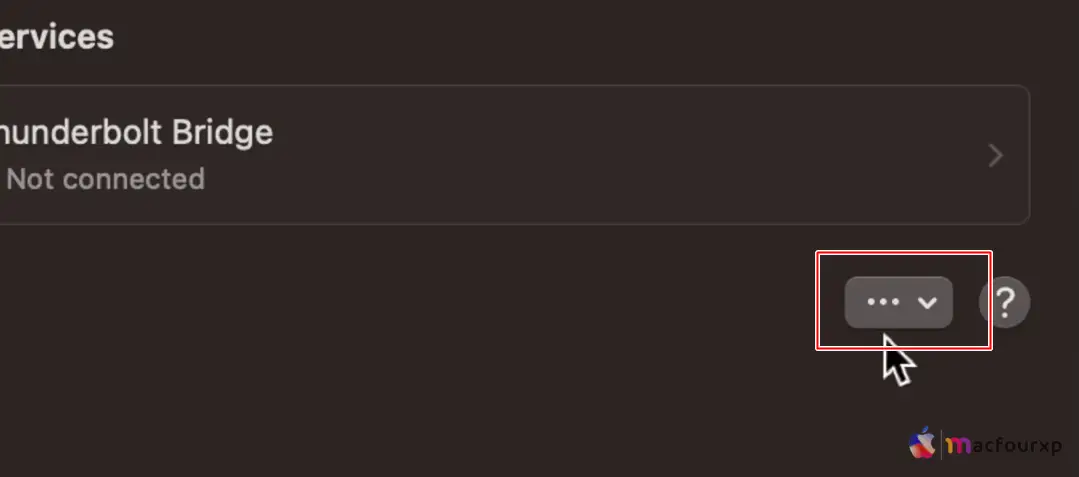
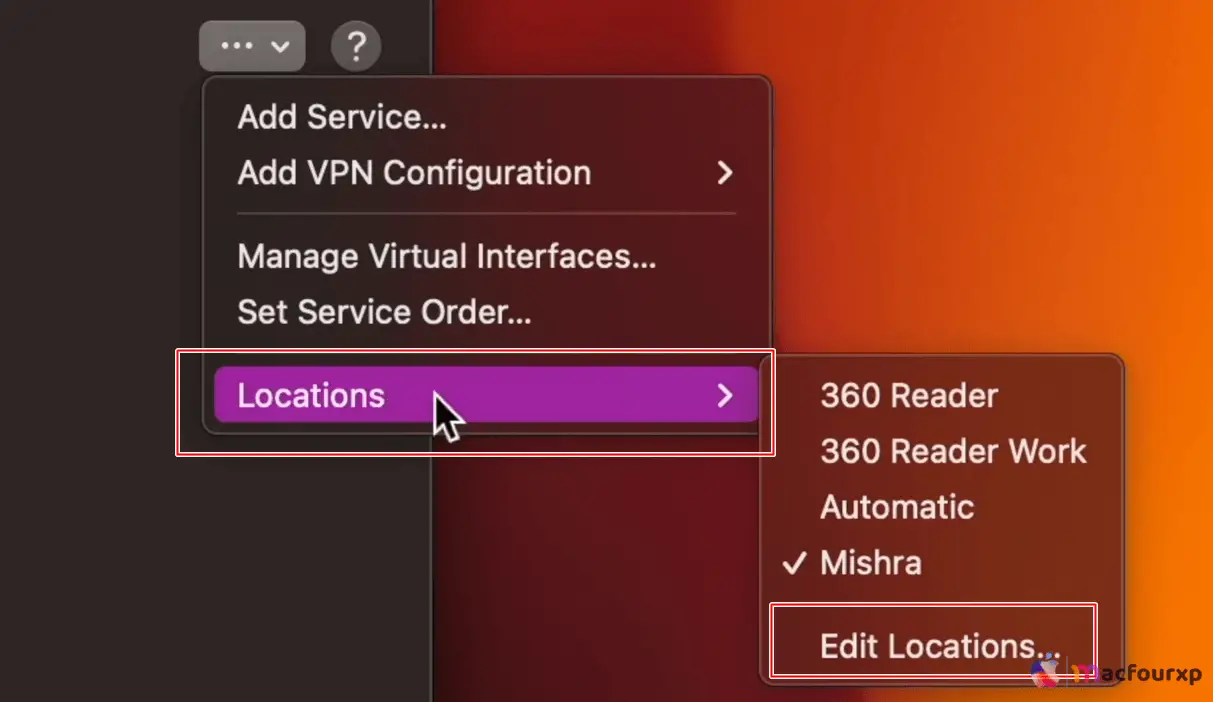
Create a New Network Location on your Mac
- From System Preferences > Network, at the top of the window drop down Location list and choose Edit Locations.
- Use + button in order to create a new location; name it whatever you like and click Done.
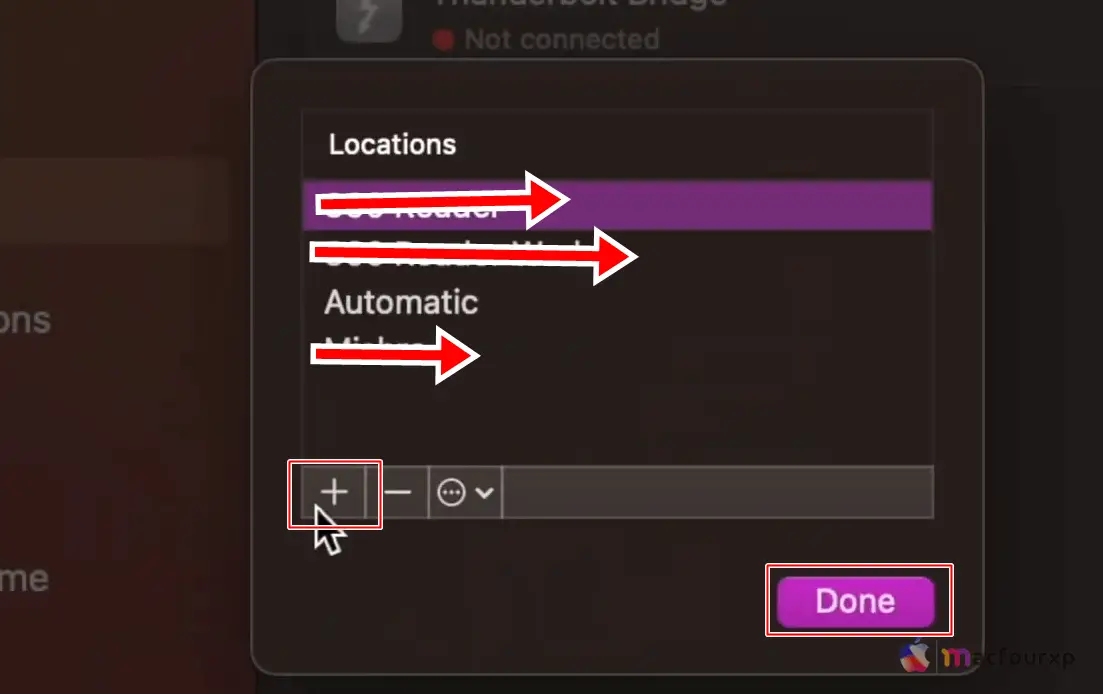
- Then try connecting to Wi-Fi again when this new location is selected.
Remove Wi-Fi Preferences
Sometimes old preferences can cause issues:
- Close System Preferences and any other active network applications.
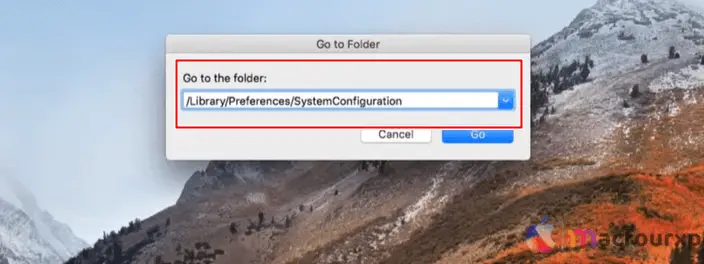
- Open Finder, hold down the Alt key and click Go on the menu bar.
- Go to Library > Preferences > SystemConfiguration.
- Delete “com.apple.airport.preferences.plist”, “com.apple.network.identification.plist”, “com.apple.wifi.message-tracer.plist”, “NetworkInterfaces.plist”, and “preferences.plist”.
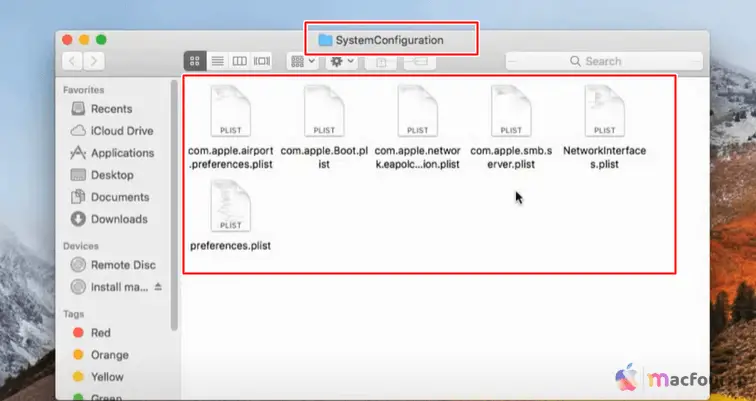
- Restart your MacBook and reconnect to Wi-Fi.
Safe Mode and Diagnostics
Safe mode starts up your Mac and tests it for problems—and clears caches. When in safe mode:
- Check if you have internet access in safe mode. (Click here for instructions on how to enter Safe Mode on a Mac)
- Restart normally and try connecting again.
Network Hard Reset
if this doesn’t work:
- Switch off your MacBook.
- Disconnect your modem/router from the power source for approximately one minute.
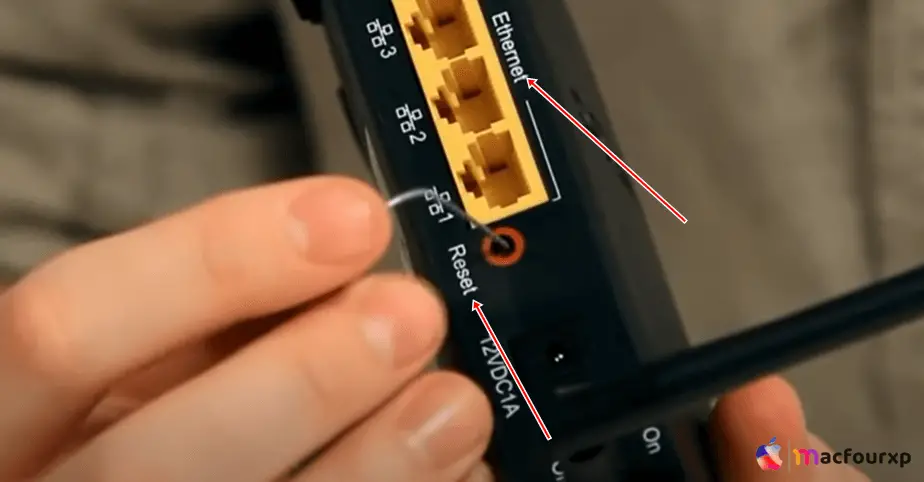
- Then, plug in the modem/router and wait until it is fully restarted.
- Put on your MacBook and reconnect to Wi-Fi.
Verify Date & Time Settings
Networking issues may arise as a result of incorrect date and time settings:
- Go to System Preferences > Date & Time.
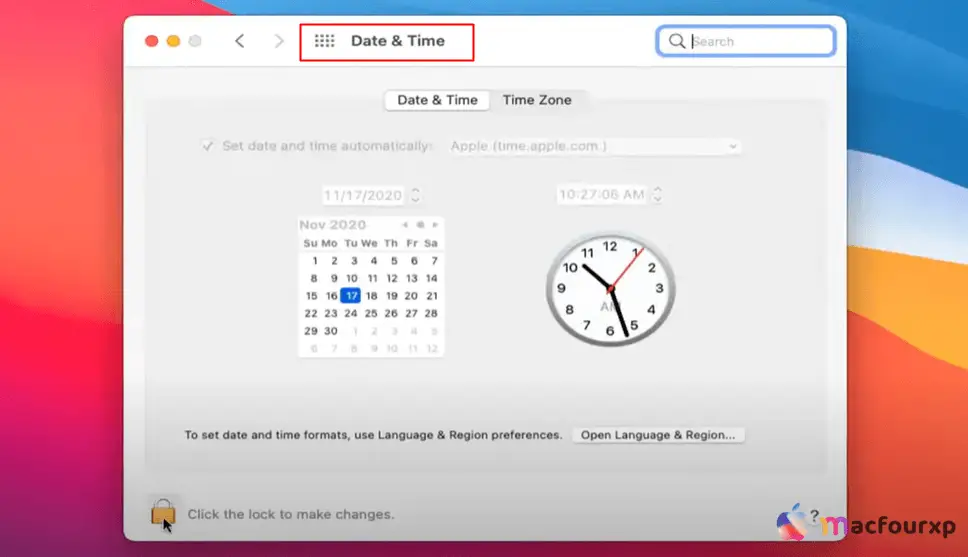
- Make sure that ‘Set date and time automatically’ is enabled.
Get Assistance from the Experts

In case you still have problems with Wi-Fi connectivity on your MacBook even after trying all these steps then there could be an underlying hardware problem or some other intricate software issue that may require professional attention from Apple support or authorized technicians.
Final Thoughts
Hopefully these steps will help you fix “wifi has self-assigned ip address and will not be able to connect to the internet” error. If you face any problem while troubleshooting then you can comment below.
NEXT READ THIS: